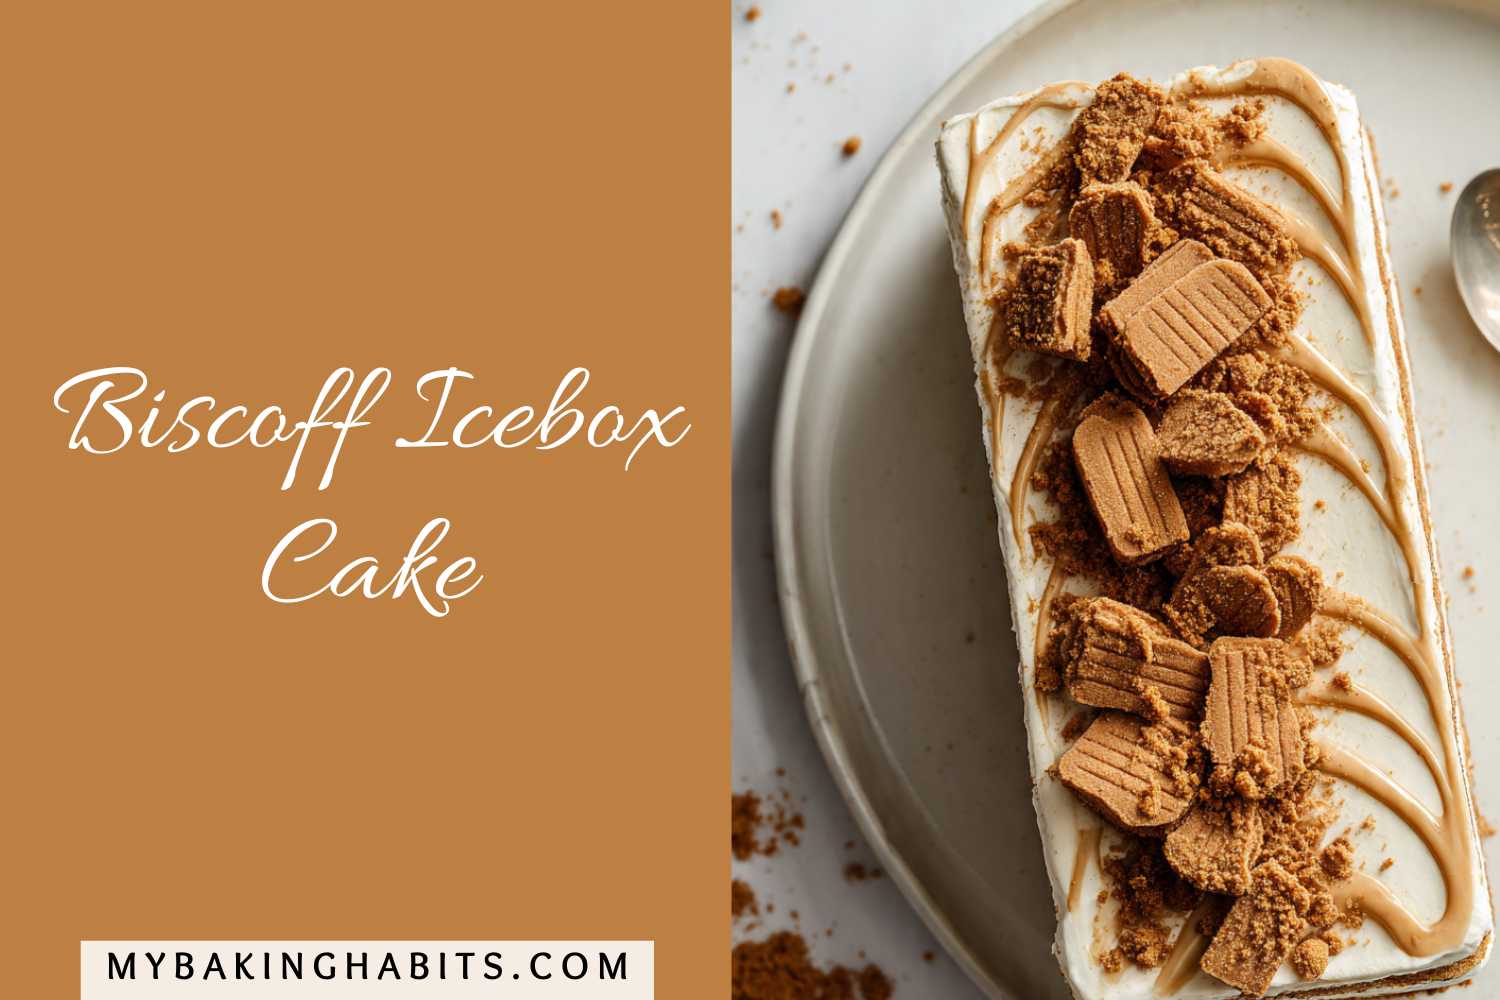
Biscoff Icebox Cake
I like making this biscoff icebox cake because it is simple and calm to put together. I usually make it the day before I need dessert, then forget about it until serving time. The cake is soft and creamy, with warm spice flavor from the cookies and a smooth cookie butter top.
Step by Step Method
Preparing the Pan
I start by lining my loaf pan with parchment paper, making sure the bottom and sides are covered. I always leave extra parchment hanging over the long sides so I can lift the cake out later without breaking it. This step makes slicing much easier once the cake is set.
Whipping the Cream
Next, I pour cold heavy cream into a mixing bowl and add just enough sugar to lightly sweeten it. I whip the cream until it looks fluffy and holds soft peaks. The cream should feel smooth and spread easily. If it looks stiff or grainy, it has gone too far and will not layer well.
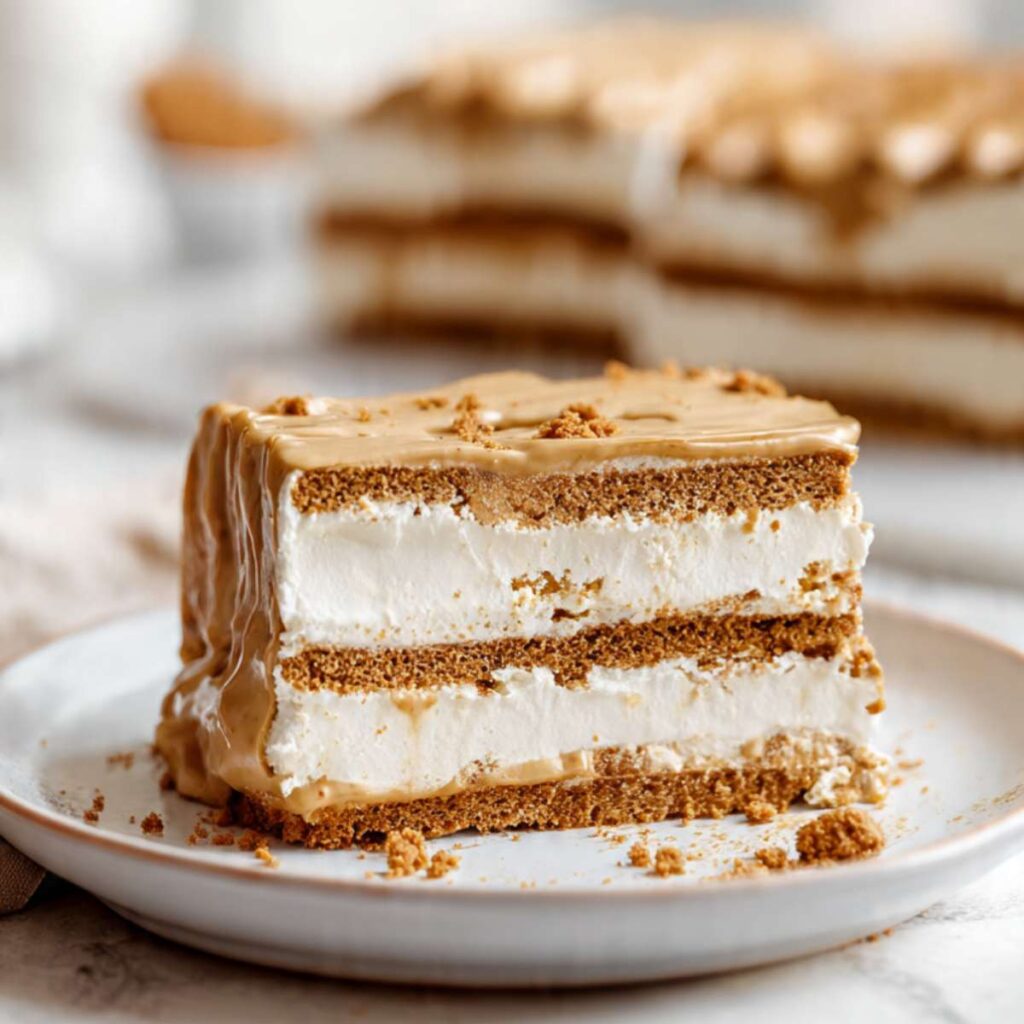
Building the Layers
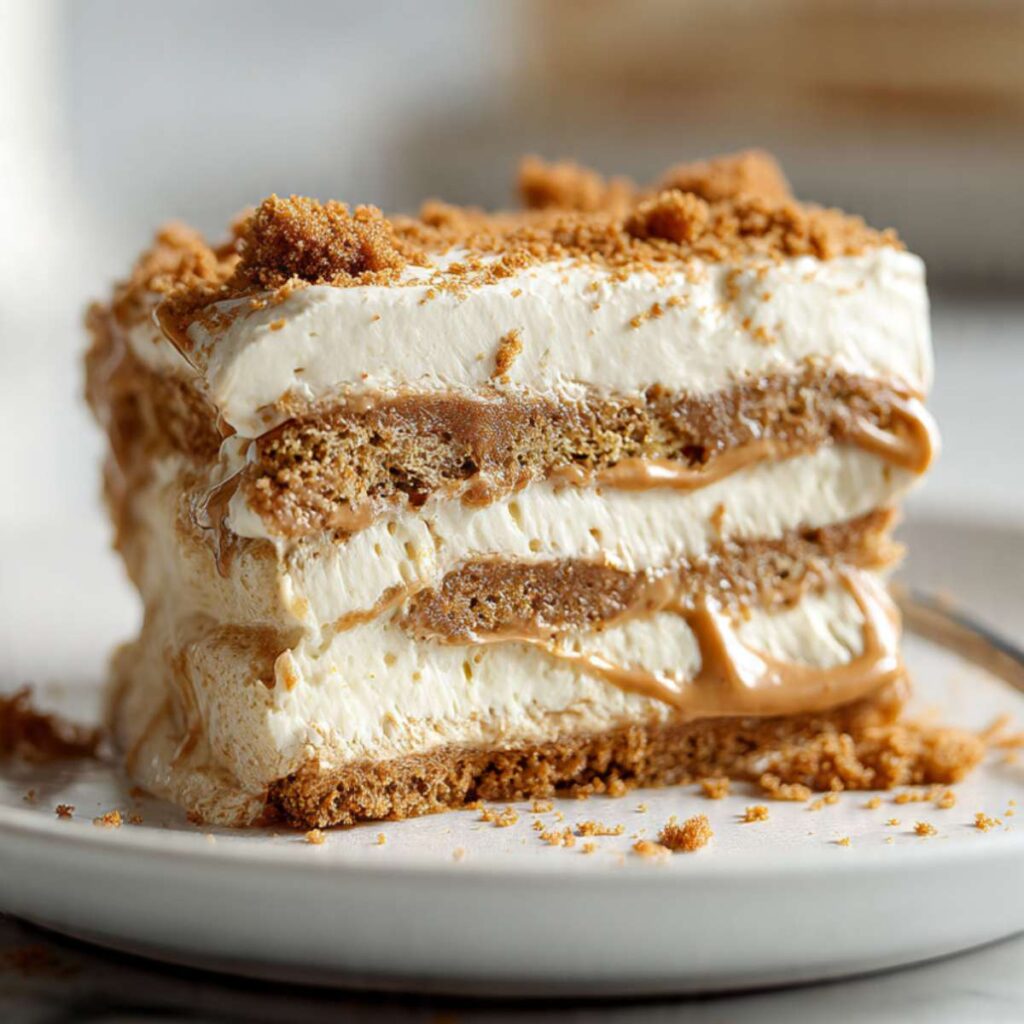
I spread a thin layer of whipped cream across the bottom of the pan to help the cookies stick. Then I place a single layer of Biscoff cookies on top, fitting them close together so there are no large gaps. I spread more whipped cream over the cookies, fully covering them. I keep repeating this pattern of cookies and cream until the pan is filled, finishing with a layer of whipped cream on top. The layers should look even and neat.
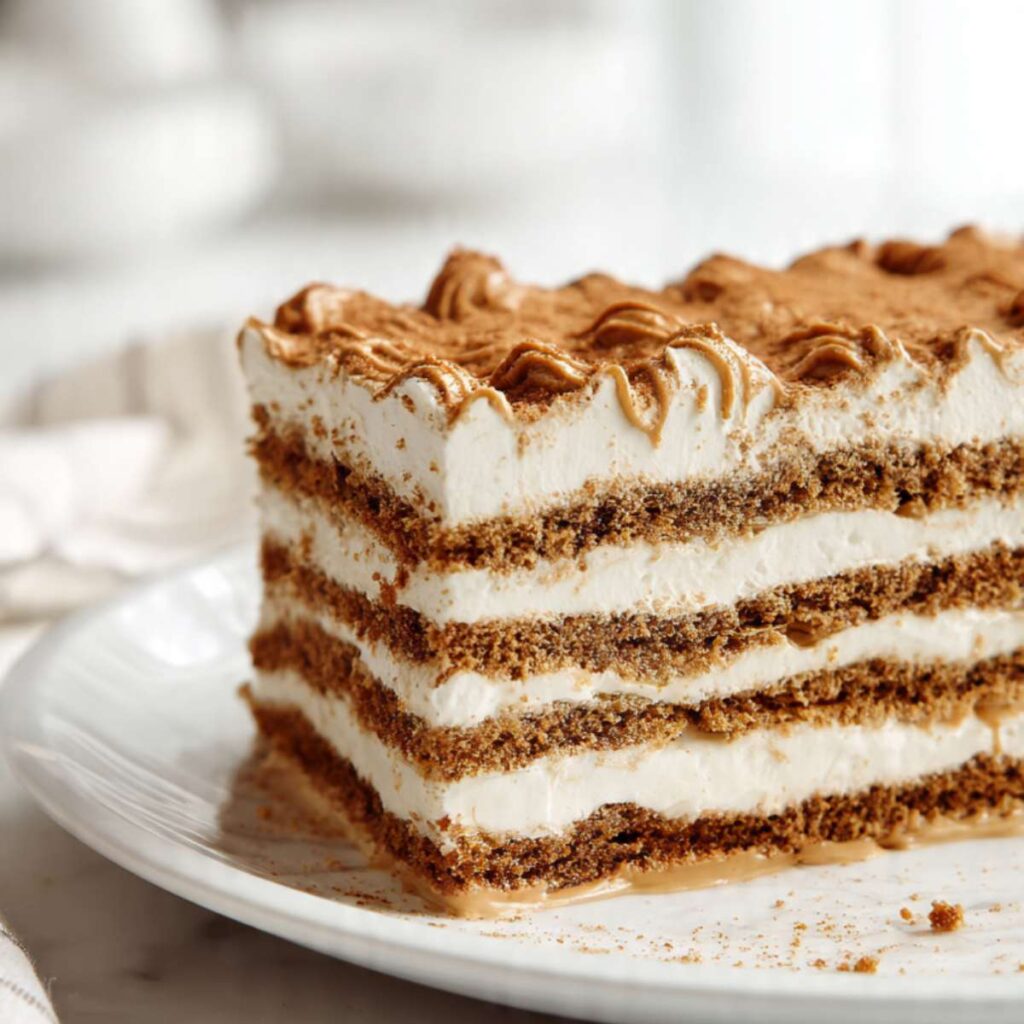
Chilling the Cake
Once layered, I cover the pan and place it in the refrigerator overnight. During this time, the whipped cream softens the cookies, turning them into tender, cake-like layers. The chilling step is what gives the cake its structure, so I do not rush it.
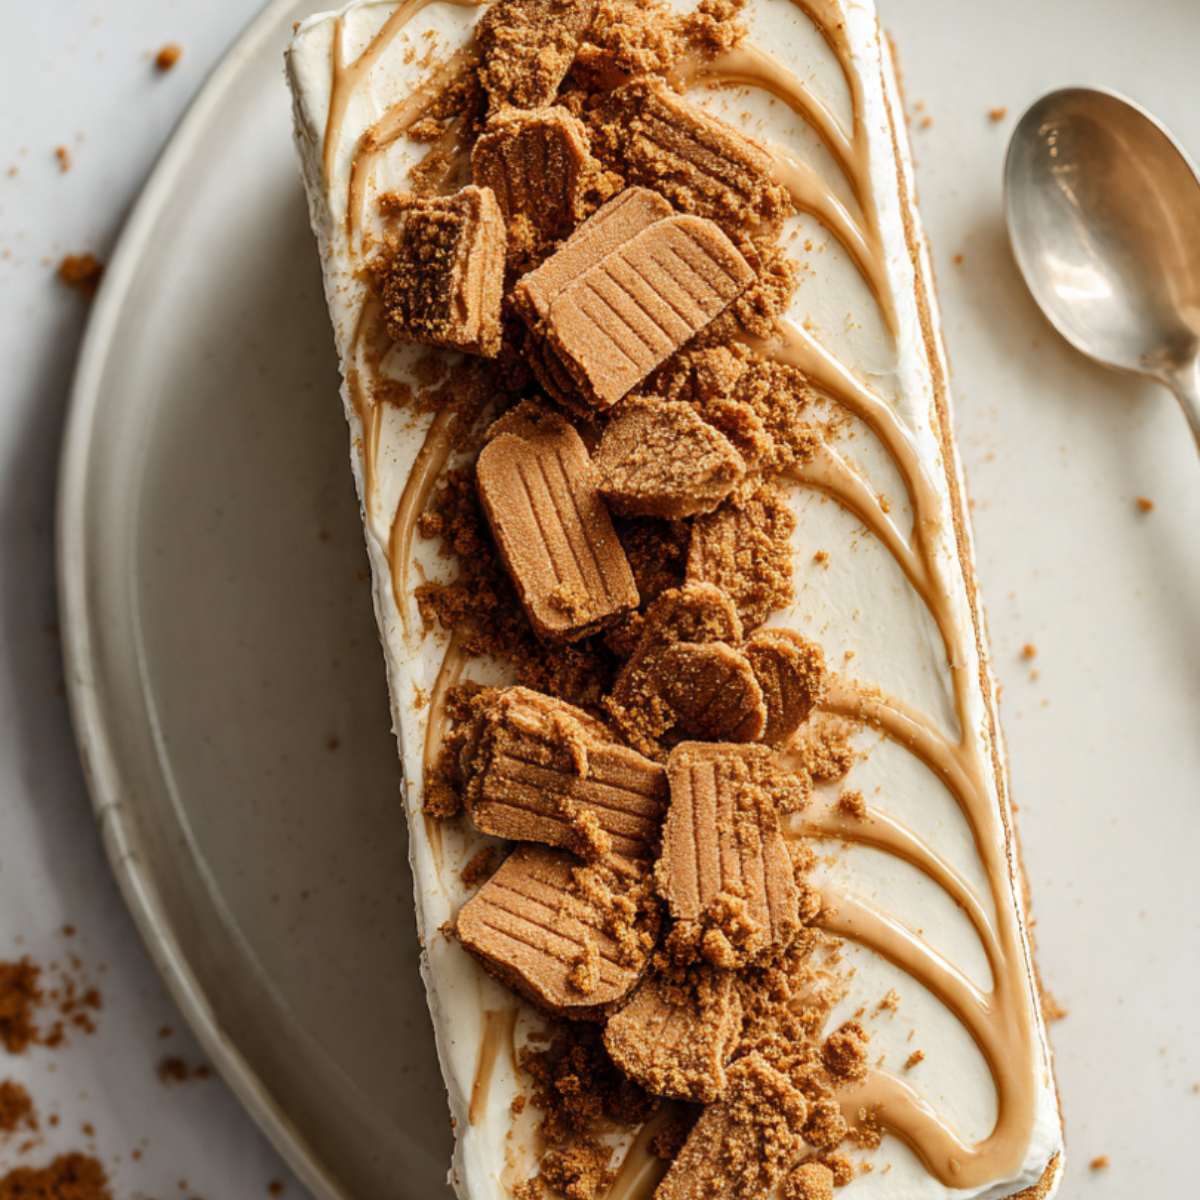
Adding the Cookie Butter Topping
After the cake is fully set, I gently warm the cookie butter just until it becomes easy to spread. I spread it evenly over the top of the cake, being careful not to press down. I finish by sprinkling crushed Biscoff cookies over the surface and sometimes add whole cookies for decoration.
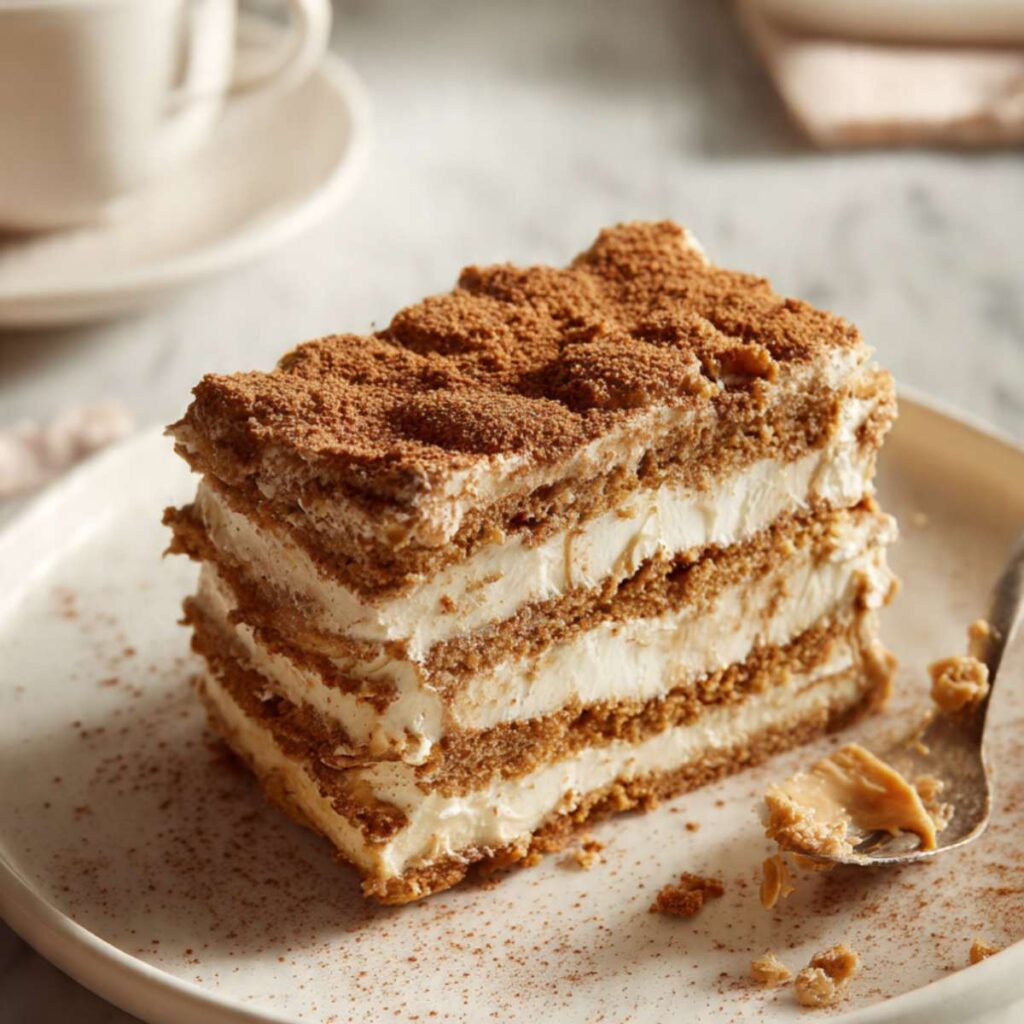
Slicing and Serving
Using the parchment overhang, I lift the cake out of the pan and place it on a cutting board. I slice it into thick pieces using a sharp knife, wiping the blade between cuts. The cake is best served cold, straight from the fridge.
Why You Will Love This Recipe
This recipe is easy to assemble and does not require baking. The layers come together quickly, and the fridge does all the work. The texture is soft and creamy, and the cookie butter adds a rich, spiced flavor that feels comforting without being heavy. It is also easy to make ahead, which takes the pressure off on busy days.
Biscoff Icebox Cake
Ingredients
Equipment
Method
- Line the loaf pan with parchment paper, leaving extra on the sides to lift the cake later. The pan should be fully covered on the bottom and sides.
- Pour the cold heavy cream into a bowl. Add sugar and whip until the cream is fluffy and holds soft peaks. It should look smooth and spreadable, not stiff.
- Spread a thin layer of whipped cream on the bottom of the pan. This helps the cookies stay in place.
- Place a single layer of Biscoff cookies over the cream. Fit them close together so there are no big gaps.
- Spread more whipped cream over the cookies. The cookies should be fully covered.
- Repeat the cookie and cream layers until the pan is full. Finish with a cream layer on top.
- Cover the pan and place it in the fridge overnight. The cookies will soften and the cake will firm up.
- When the cake is set, gently warm the cookie butter just until spreadable. Spread it evenly over the top.
- Sprinkle crushed Biscoff cookies on top. Add whole cookies if you want.
- Lift the cake out using the parchment. Slice into thick pieces and serve cold.
Notes
- Do not overwhip the cream. If it turns grainy, it will not spread smoothly.
- Make sure all cookies are covered with cream, or dry spots will stay hard.
- Do not pour hot cookie butter on top. It should be just warm enough to spread.
- Macros are approximate and will vary based on portion size and brand of ingredients used.

Why This Recipe Works
The whipped cream adds moisture to the cookies as the cake chills. This turns firm cookies into soft, cake-like layers. The cookie butter on top stays rich and smooth, adding strong flavor without soaking into the cake too much.
Serving Suggestions
I serve this straight from the fridge in thick slices. A small dollop of whipped cream on the plate works well. I keep portions simple because the cake is rich on its own.
Fun Fact
Icebox cakes were named after early refrigerators, which were called iceboxes. Chilling was the only “cooking” step.
Conclusion
This cake keeps well in the fridge for a couple of days and slices best when cold. I make it when I want dessert ready ahead of time. You can adjust the number of layers by using a smaller or larger pan.