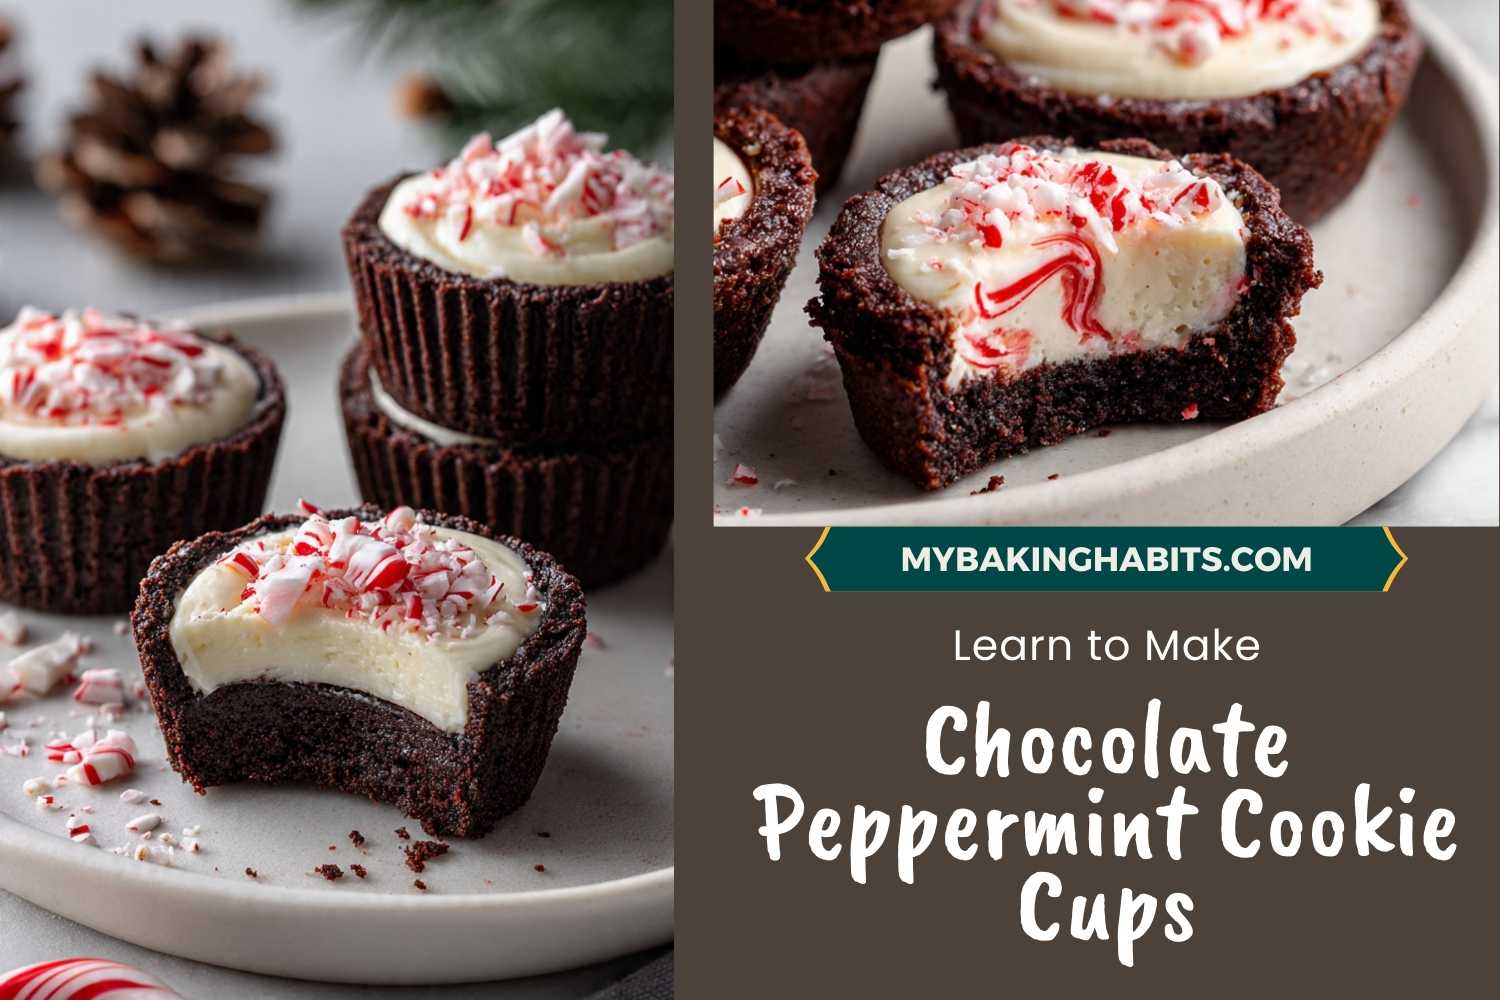
Chocolate Peppermint Cookie Cups
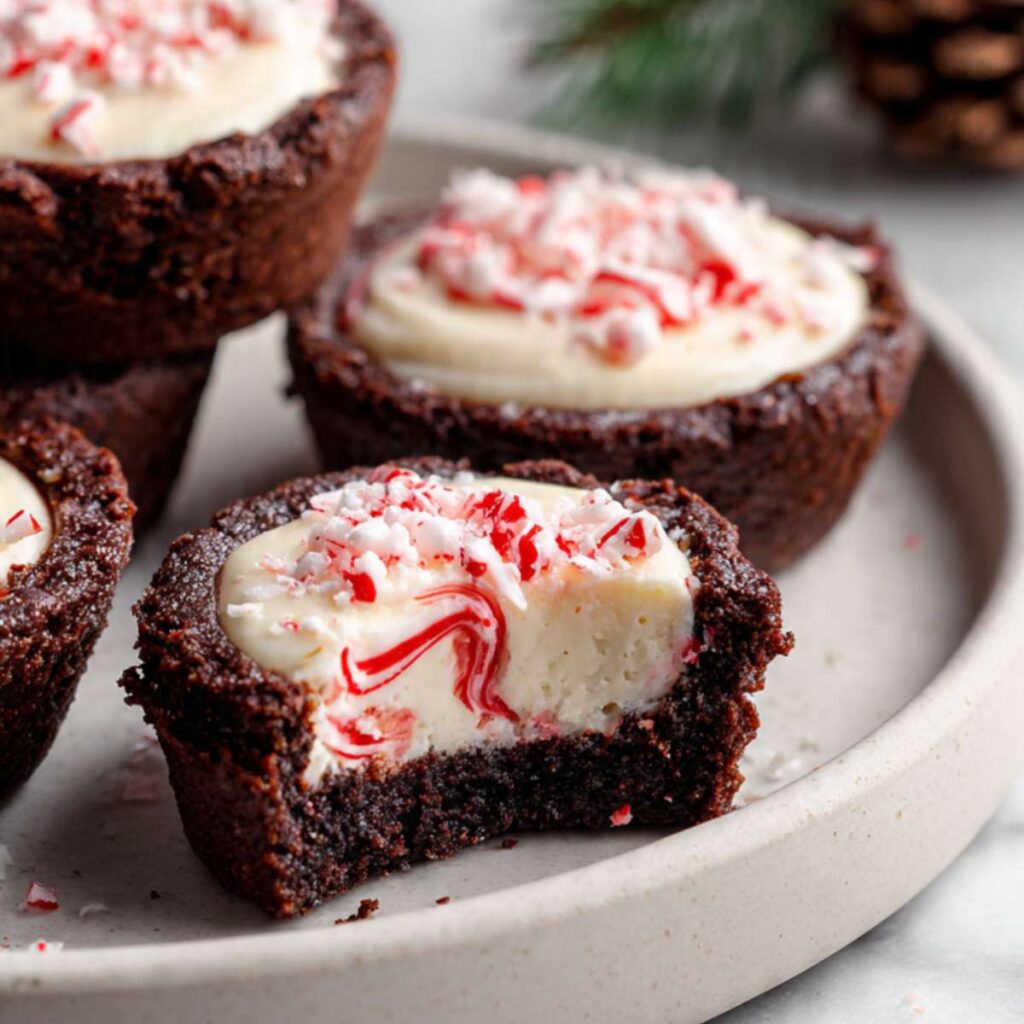
I like making these chocolate peppermint cookie cups when I want a small dessert that feels rich but easy to portion. I usually make them in winter, when peppermint candy is around and I want something cold and creamy. They taste deep and chocolatey on the outside, with a smooth, cool peppermint filling and a little crunch on top.
Step by Step Method
Making the Chocolate Cookie Cups
Start by heating the oven to 350°F (175°C). Grease a 12-cup muffin pan well so the cookie cups release cleanly after baking. In a mixing bowl, stir the butter and sugar together until the mixture looks smooth and evenly combined. Add the egg and mix again until no streaks remain. Sprinkle in the cocoa powder, flour, and salt, then mix just until a thick chocolate dough forms. The dough should feel soft and pliable but not sticky. Divide the dough evenly between the muffin cups. Use your fingers or the bottom of a small glass to press the dough firmly into the bottom and up the sides of each cup, leaving a hollow center. Bake until the cups look set and slightly dry on top, and the edges feel firm when touched. Remove the pan from the oven and let the cookie cups cool completely in the pan so they hold their shape.
Preparing the Peppermint Cheesecake Filling
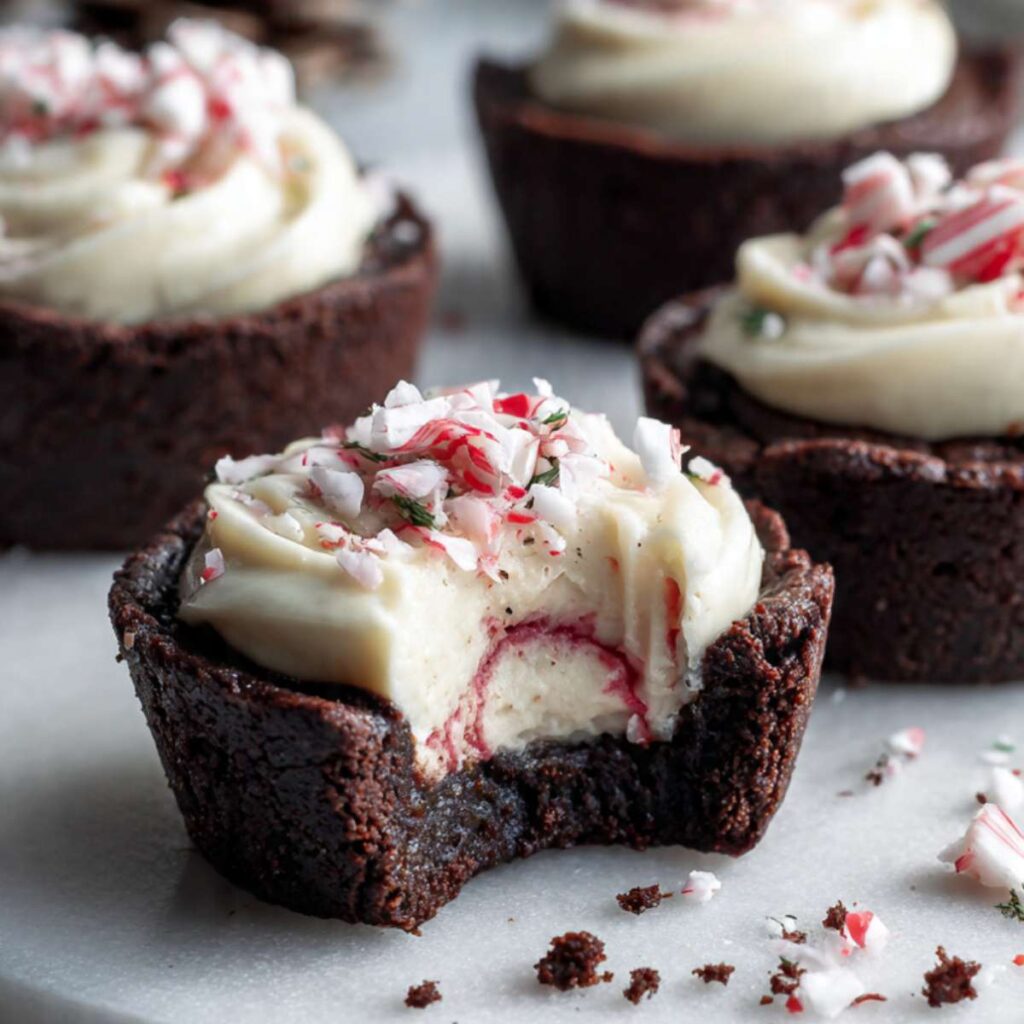
While the cookie cups cool, make the filling. In a clean bowl, mix the cream cheese and powdered sugar until the mixture is smooth and creamy, with no lumps. Add a small amount of peppermint extract and stir well. The filling should be thick and hold its shape on a spoon. Once the cookie cups are fully cooled, spoon or pipe the filling into each cup, filling them almost to the top and smoothing the surface gently.
Adding the Swirl and Topping
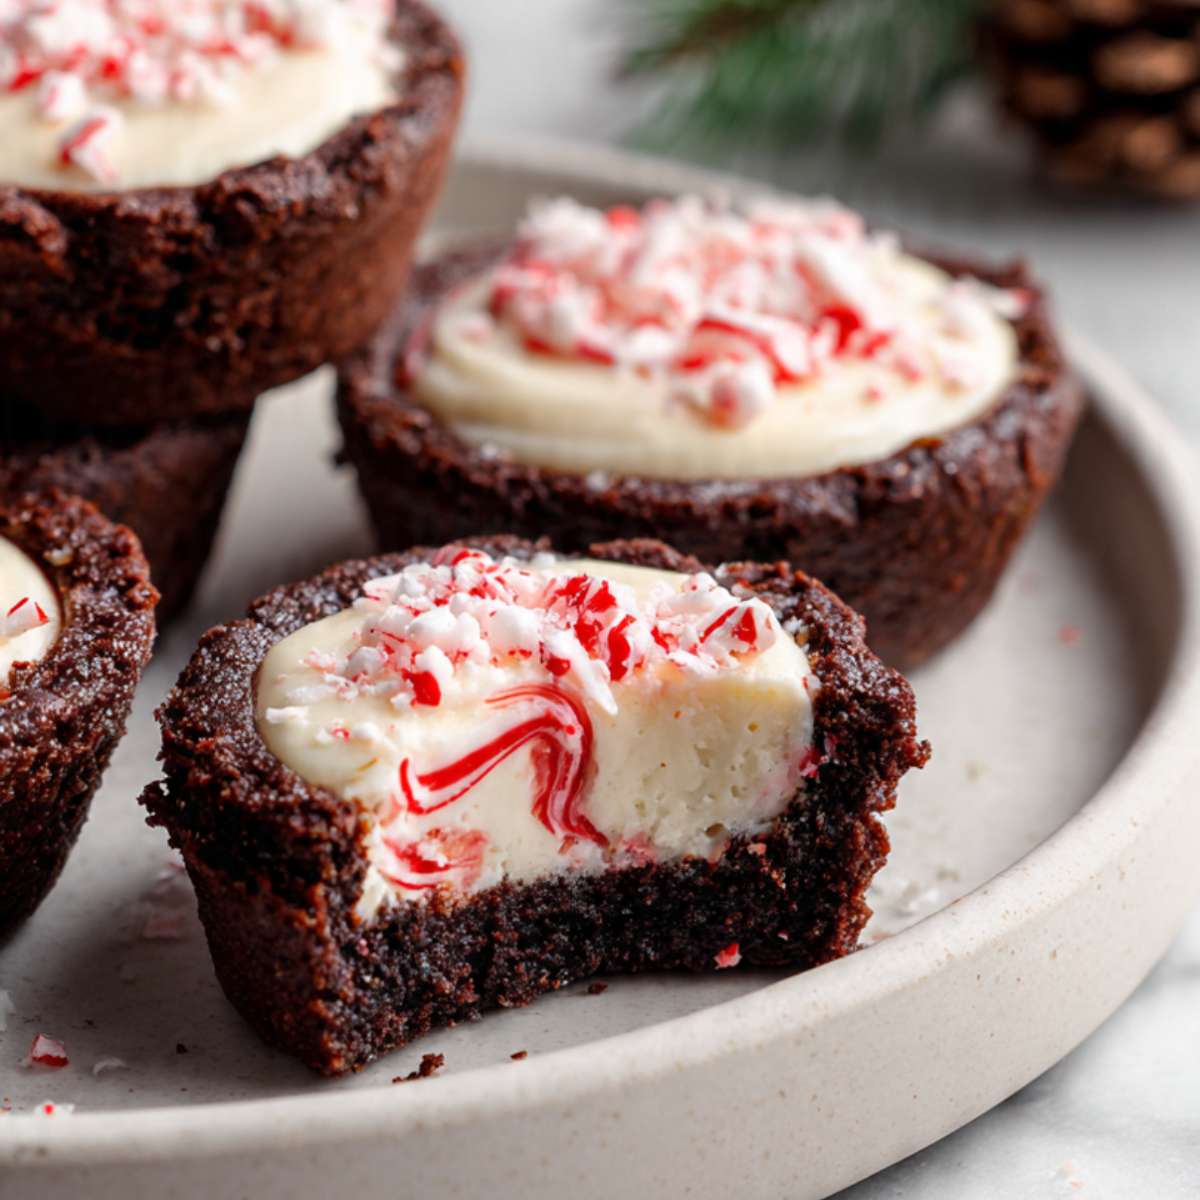
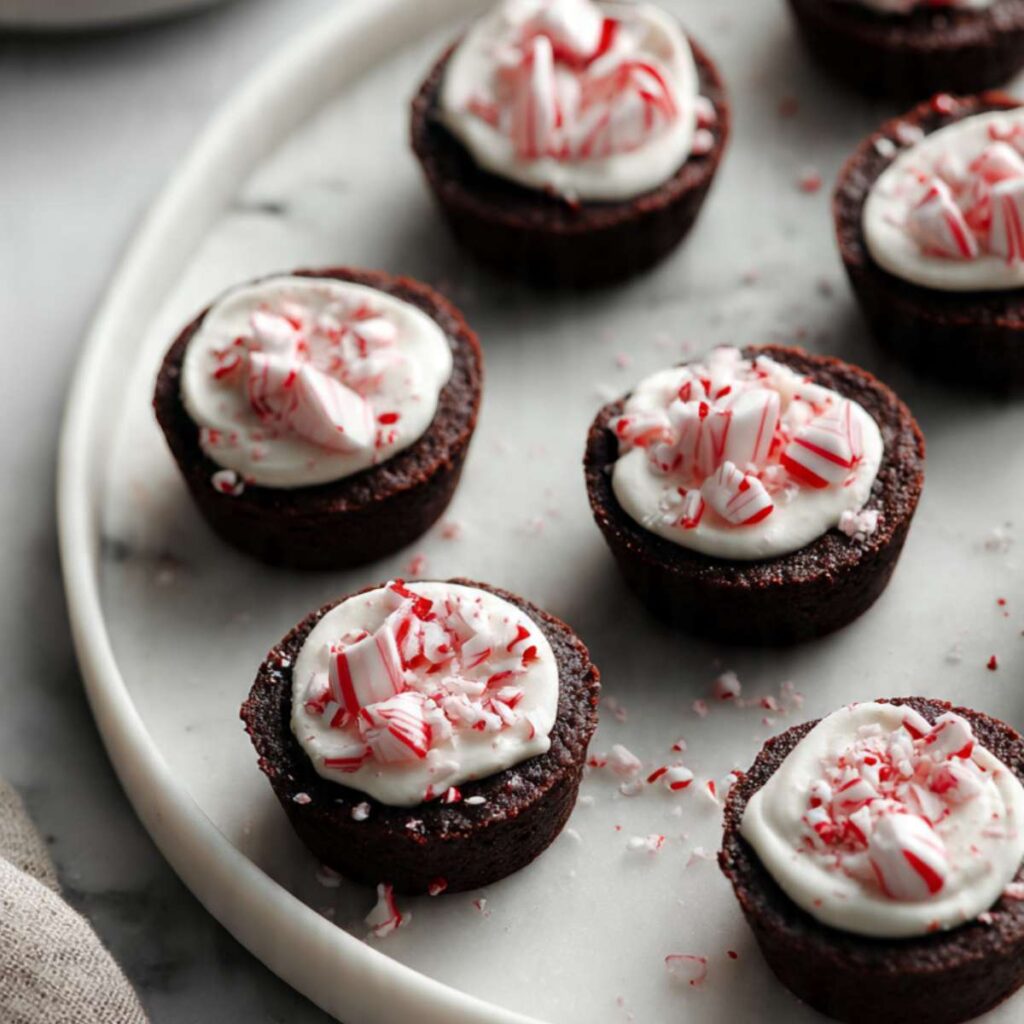
Place a few small drops of the red peppermint swirl or syrup on top of each filled cup. Use a toothpick to gently drag the swirl through the surface to create a marbled pattern without mixing it fully into the filling. Sprinkle crushed peppermint candy in the center of each cup for texture and flavor.
Chilling to Set
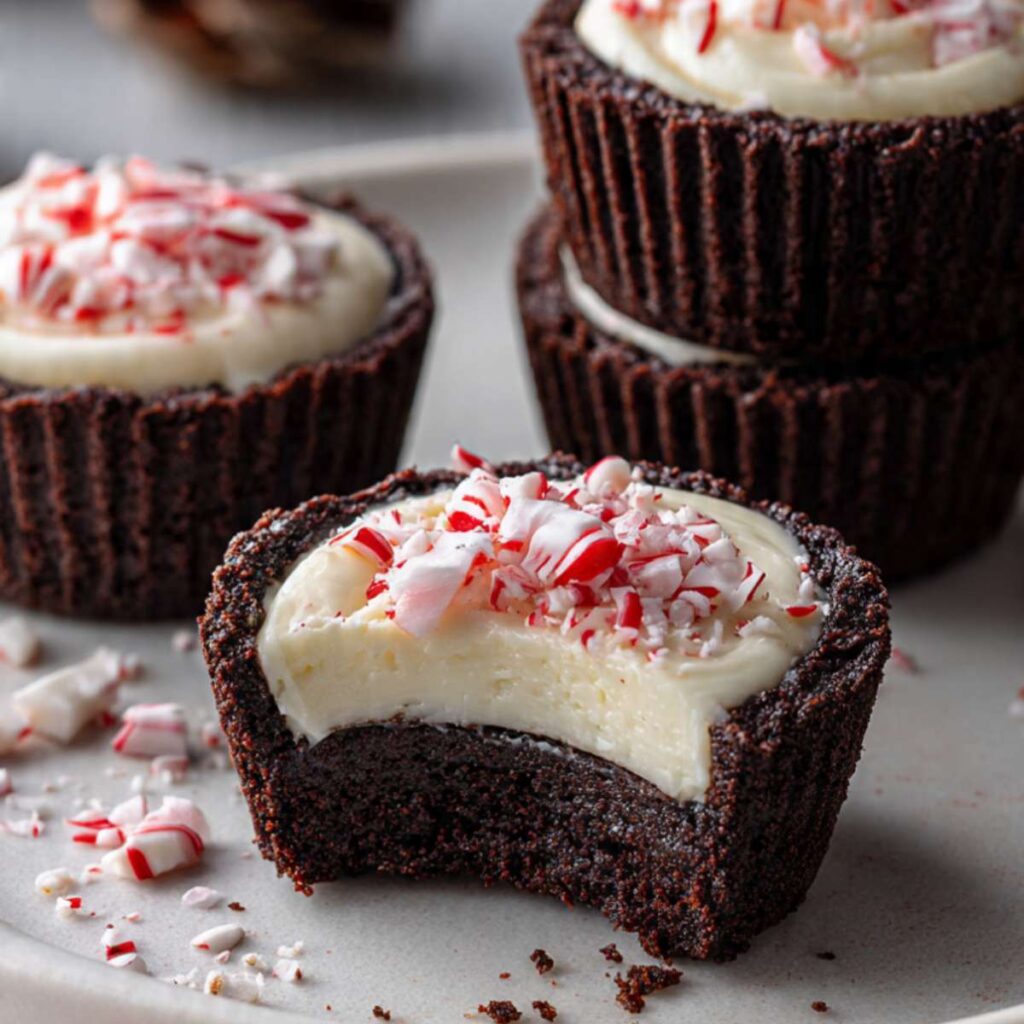
Transfer the filled cookie cups to the refrigerator and chill them until the filling feels firm and set. Once chilled, the cups should hold clean edges when cut and keep their shape when lifted from the pan.
Why You Will Love This Recipe
These cookie cups are easy to portion, easy to store, and feel rich without being messy. The contrast between the firm chocolate base and the cool, creamy peppermint filling makes each bite balanced. The crushed peppermint adds crunch and keeps the dessert from feeling too soft or heavy. Because they are chilled, they taste refreshing even though they are chocolate-based.
Chocolate Peppermint Cookie Cups
Ingredients
Equipment
Method
- Preheat the oven to 350°F (175°C). Grease a muffin pan so the cups release easily after baking.
- Mix the butter and sugar until smooth. Add the egg and stir until combined.
- Add cocoa powder, flour, and salt. Mix until a thick chocolate dough forms. It should be soft but not sticky.
- Divide the dough between the muffin cups. Press it into the bottom and up the sides to form small cups. The center should be hollow.
- Bake until the cups look set and dry on top. The edges should feel firm when touched.
- Let the cups cool completely in the pan so they keep their shape.
- In a clean bowl, mix the cream cheese and powdered sugar until smooth and creamy.
- Add a small amount of peppermint extract and mix again. The filling should be thick and smooth.
- Spoon or pipe the filling into the cooled cookie cups, almost to the top.
- Add a few drops of the red swirl on top. Use a toothpick to gently swirl it into the filling.
- Sprinkle crushed peppermint candy in the center.
- Chill the cups until the filling feels firm and holds its shape when cut.
Notes
- If the dough is too thin on the sides, the cups can crack when removed. Press the dough evenly.
- Do not fill the cups while they are warm. The filling will soften and lose shape.
- Use very little peppermint extract. Too much can overpower the filling fast.
- Chill long enough so the filling fully sets before serving.
- Macros are approximate and will vary based on ingredient brands and portion size.
Why This Recipe Works
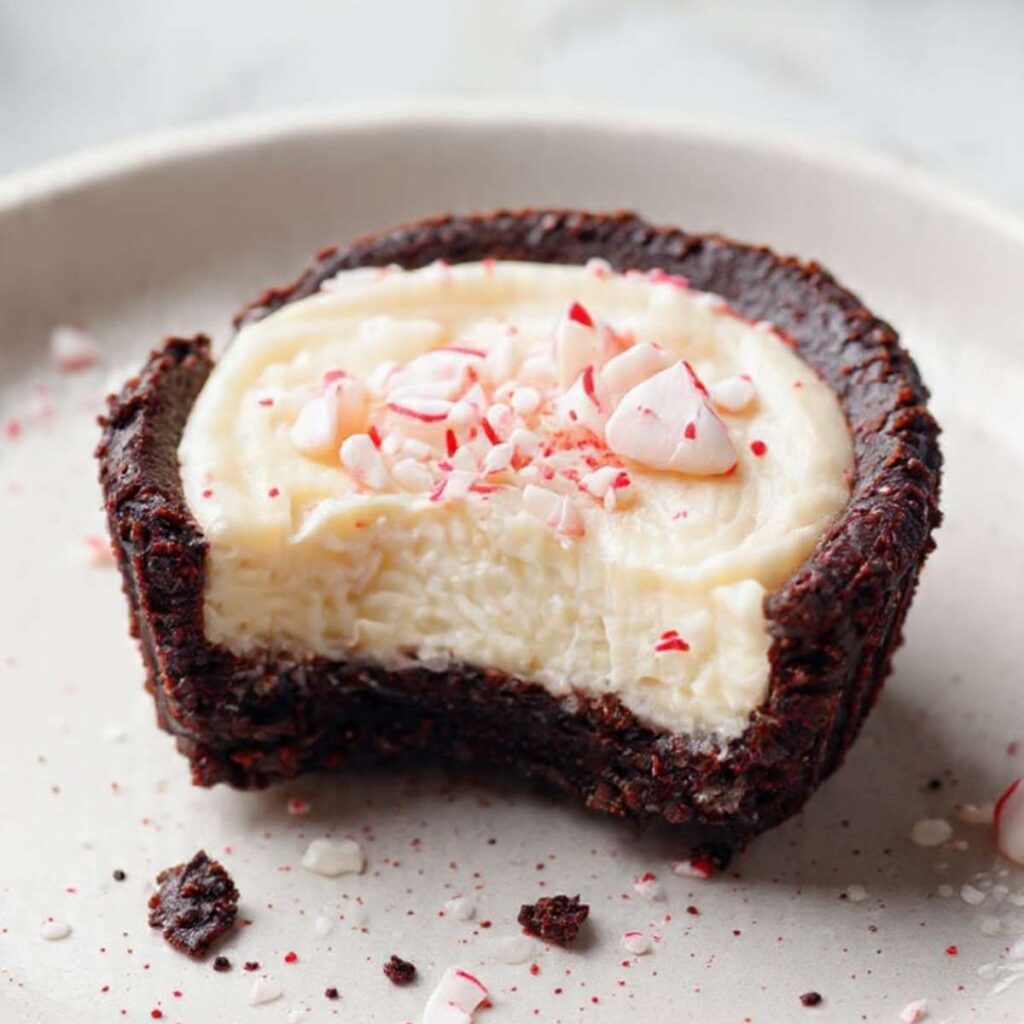
The baked chocolate cups are sturdy, so they hold the filling without falling apart. The cream cheese filling is thick and smooth, which contrasts with the firm cookie base. The red swirl adds a light peppermint flavor and keeps the filling from tasting flat. The crushed candy adds crunch, so each bite has more than one texture.
Serving Suggestions
I serve these straight from the fridge so the filling stays firm. One cup is enough for a serving since they are rich. They go well with plain coffee or hot cocoa.
Fun Fact
Peppermint candy melts quickly on warm desserts, which is why it works best as a topping on chilled treats like these.
Conclusion
I keep these stored in the fridge and eat them within a few days. They are easy to make ahead and easy to portion. I like making them again whenever I have extra peppermint candy to use up.