Ingredients
Equipment
Method
- Step 1 — Make the crust: Crush 2¾ cups (300g) Lotus Biscoff cookies in a food processor until fine and sandy with no large pieces remaining, then pour into a large mixing bowl, add 6 tablespoons (85g) melted unsalted butter cooled for 3–4 minutes, stir with a silicone spatula in slow bottom-to-top strokes for approximately 15 strokes until every crumb is evenly coated and the mixture clumps when squeezed in your fist, then press firmly and evenly into a parchment-lined 9×9 inch (23×23cm) pan using the flat bottom of a measuring cup until the crust is approximately ¾ inch (2cm) deep across the entire surface with no thin spots, and freeze for exactly 20 minutes.
- Step 2 — Beat the cream cheese base: Confirm the 24 oz (680g) full-fat block cream cheese has been at room temperature for 90–120 minutes and passes the two-finger press test with zero resistance, then beat in a stand mixer fitted with the paddle attachment on medium speed (speed 4 on a KitchenAid) for exactly 3 minutes, stop and scrape the bowl sides and bottom completely with a silicone spatula, add ⅔ cup (80g) sifted powdered sugar and 1 teaspoon pure vanilla extract, beat on low speed for 30 seconds then increase to medium speed for 1 full minute, and scrape the bowl again — the base should look smooth, glossy, and completely lump-free with no gritty texture when tested with a clean finger.
- Step 3 — Whip the cream and fold into the base: Pour ½ cup (120ml) cold heavy whipping cream (36% fat minimum) into a clean cold mixing bowl, whip using the stand mixer whisk attachment starting at medium-low speed for 30 seconds then increasing to medium-high speed for 60–90 seconds until stiff peaks form that point straight up without curling when the whisk is lifted, then transfer approximately one-third of the whipped cream into the cream cheese base and fold with a silicone spatula in slow bottom-to-top strokes for 10 strokes to lighten the base, add the remaining two-thirds of the whipped cream and fold for 15–20 strokes maximum until no white streaks remain — the finished filling should be thick, smooth, and fall in a slow heavy ribbon when spooned, not pour like a liquid.
- Step 4 — Fill the pan and chill: Pull the frozen crust from the freezer and confirm it feels firm and cold to the touch, pour all the cheesecake filling onto the center of the crust in one motion, spread from the center outward using an offset spatula in slow even strokes until the filling is level and even to all four edges with no peaks or valleys, run the flat edge of the offset spatula across the top in one long stroke to confirm a flat surface, drape plastic wrap loosely over the pan edges without touching the filling surface, and refrigerate for a minimum of 6 hours or overnight — do not move the pan during the first 2 hours of chilling.
- Step 5 — Make the salted caramel: Confirm the ⅓ cup (80ml) heavy whipping cream for the caramel has been at room temperature for 20 minutes, then spread ¾ cup (150g) plain white granulated cane sugar in an even layer in a small heavy-bottomed light-colored saucepan over medium heat without stirring — swirl the pan by the handle only if edges brown faster than the center — and cook for 6–8 minutes until the caramel reaches a deep amber color (the color of dark honey) and smells deeply nutty with a faint edge of smoke or reaches 350°F (175°C) on an instant-read thermometer, then immediately remove from heat and add 5 tablespoons (75g) unsalted butter cut into 1-tablespoon pieces whisking constantly until fully melted and incorporated, slowly pour ⅓ cup (80ml) room-temperature heavy whipping cream in a thin steady stream while whisking constantly, return to medium-low heat and cook for exactly 1 minute whisking constantly, remove from heat, add ½ teaspoon fine sea salt, whisk to incorporate, pour into a heatproof bowl and cool at room temperature for 20–25 minutes stirring occasionally until the caramel coats the back of a spoon and the bowl bottom feels warm not hot.
- Step 6 — Top with caramel and set: Remove the fully set cheesecake from the refrigerator and peel back the plastic wrap carefully, pour the cooled room-temperature caramel onto the center of the filling in one slow pour and spread immediately using an offset spatula from the center outward to all four edges in steady strokes to create a thin even glossy cap across the entire surface, then return the pan uncovered to the refrigerator for a minimum of 1 hour until the caramel feels firm to a light touch and holds a fingerprint without running.
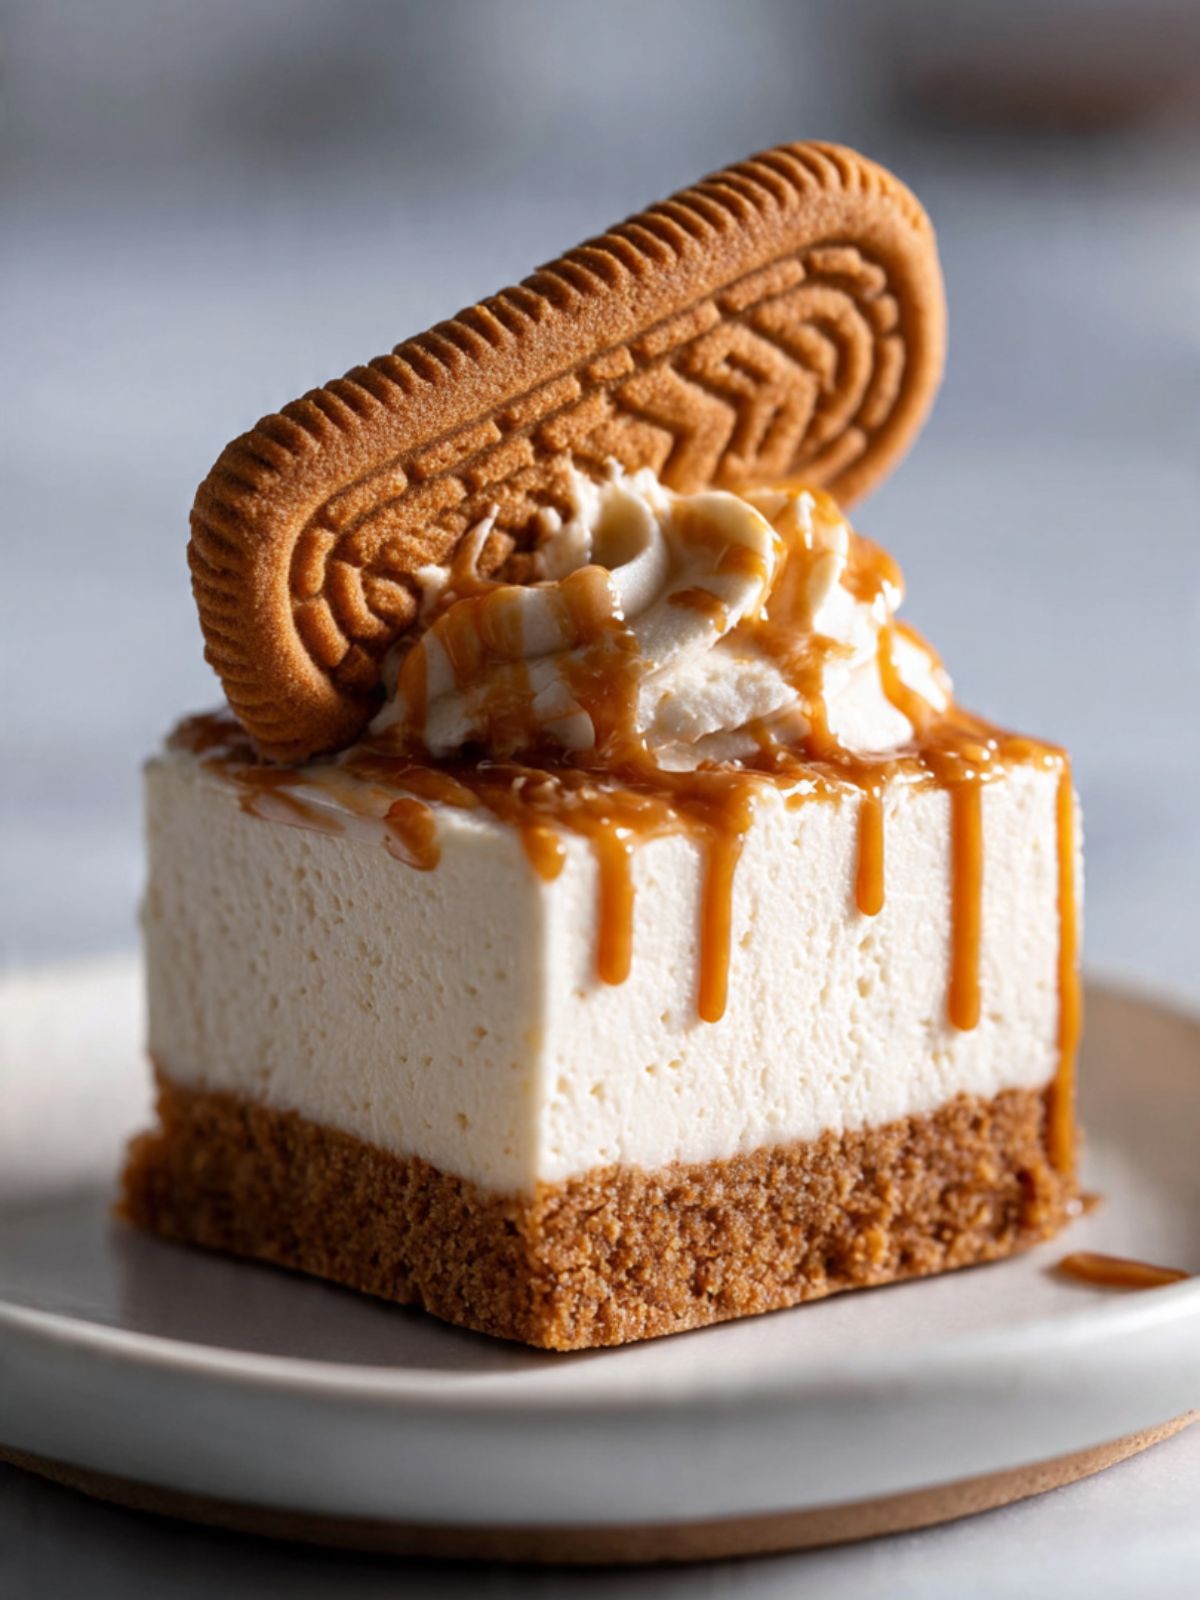
- Step 7 — Slice and garnish: Grip the parchment overhang on two opposite sides and lift the entire slab straight up and out of the pan in one motion onto a flat cutting surface, run a sharp chef's knife under hot water for 10 seconds and wipe completely dry, press the blade straight down through the slab in one firm continuous motion without sawing to cut into a 3×3 grid yielding 9 equal square bars and wipe the blade clean under hot water between every single cut, then whip ½ cup (120ml) cold heavy whipping cream with 1 tablespoon (8g) powdered sugar to stiff peaks using a hand mixer or stand mixer whisk attachment, transfer to a piping bag fitted with a Wilton 1M star tip, pipe one rosette onto the center of each bar's caramel surface, and press one whole Lotus Biscoff cookie into each rosette at a slight 20–30 degree backward angle so the ridged pattern faces forward — serve within 45 minutes of garnishing.
Notes
Cream cheese: full-fat block only (Philadelphia Original recommended) — whipped spread or reduced-fat blocks will not set firm. Must be fully room temperature, 90–120 minutes out of the refrigerator.
Heavy whipping cream: 36% fat minimum for both filling and caramel — lower fat creams will not whip to stiff peaks.
Caramel: do not stir the sugar during cooking — swirl the pan only. A crystallized batch cannot be rescued; discard and start again.
Caramel temperature: must cool to room temperature (below 85°F / 29°C) before pouring onto the set filling — warm caramel softens the filling surface.
Chill time: minimum 6 hours, overnight strongly preferred — do not cut before the filling is fully firm.
Parchment overhang: two sheets, perpendicular, minimum 2-inch (5cm) overhang on all four sides — essential for lifting the slab out cleanly.
Slicing: warm knife under hot water before every single cut, wipe dry — do not saw. Score the caramel layer first for the cleanest edges.
Make ahead: crust and filling up to 2 days ahead; caramel up to 3 days ahead stored in a sealed glass jar in the refrigerator — reheat gently before applying.
Storage: refrigerate ungarnished in a hard-sided lidded container with parchment loosely over the caramel surface, up to 4 days.
Freeze: wrap individual bars in plastic wrap, place in a freezer zip-lock bag, up to 2 months — thaw overnight in the refrigerator, garnish after thawing.
Scaling: double the recipe for a 9×13 inch (23×33cm) pan (approximately 15 bars) — make the caramel in two separate batches, not one large batch.
Altitude: above 3,500 feet (1,067m), caramel reaches target color faster — start checking at 5 minutes, not 6.
High altitude bakers: see the FAQ section for caramel timing adjustments above 3,500 feet (1,067m).
Allergens: contains dairy (cream cheese, butter, heavy cream), gluten (Lotus Biscoff cookies), soy (check Biscoff packaging). Not suitable for nut, dairy, or gluten allergies without significant recipe modification.