Ingredients
Equipment
Method
- Position the oven rack in the middle position and preheat to 350°F (175°C), allowing a full 15 minutes for the oven to reach temperature, then line a light-colored aluminum baking sheet with parchment paper and set aside.
- In a large mixing bowl, combine ½ cup (113g) unsalted butter softened to room temperature and ⅓ cup (67g) plain white granulated cane sugar and stir firmly with a silicone spatula for 40 to 50 strokes until the mixture looks pale, smooth, and slightly glossy with no visible butter chunks or sugar streaks remaining.
- Add ½ tsp pure vanilla extract and stir for 10 strokes to combine, then add 1 cup (120g) all-purpose flour spooned and leveled and ¼ tsp fine sea salt and fold gently for 25 to 30 strokes until the flour is fully incorporated and no dry streaks remain — stop mixing the moment the dough comes together.
- Scoop the dough into 24 portions at approximately 1 tablespoon (18g) each and roll each portion between your palms into a smooth round ball — if using the optional sugar coating, roll each ball through 2 tablespoons (25g) granulated sugar before placing on the pan — then arrange on the prepared baking sheet spaced at least 1½ inches (4cm) apart.
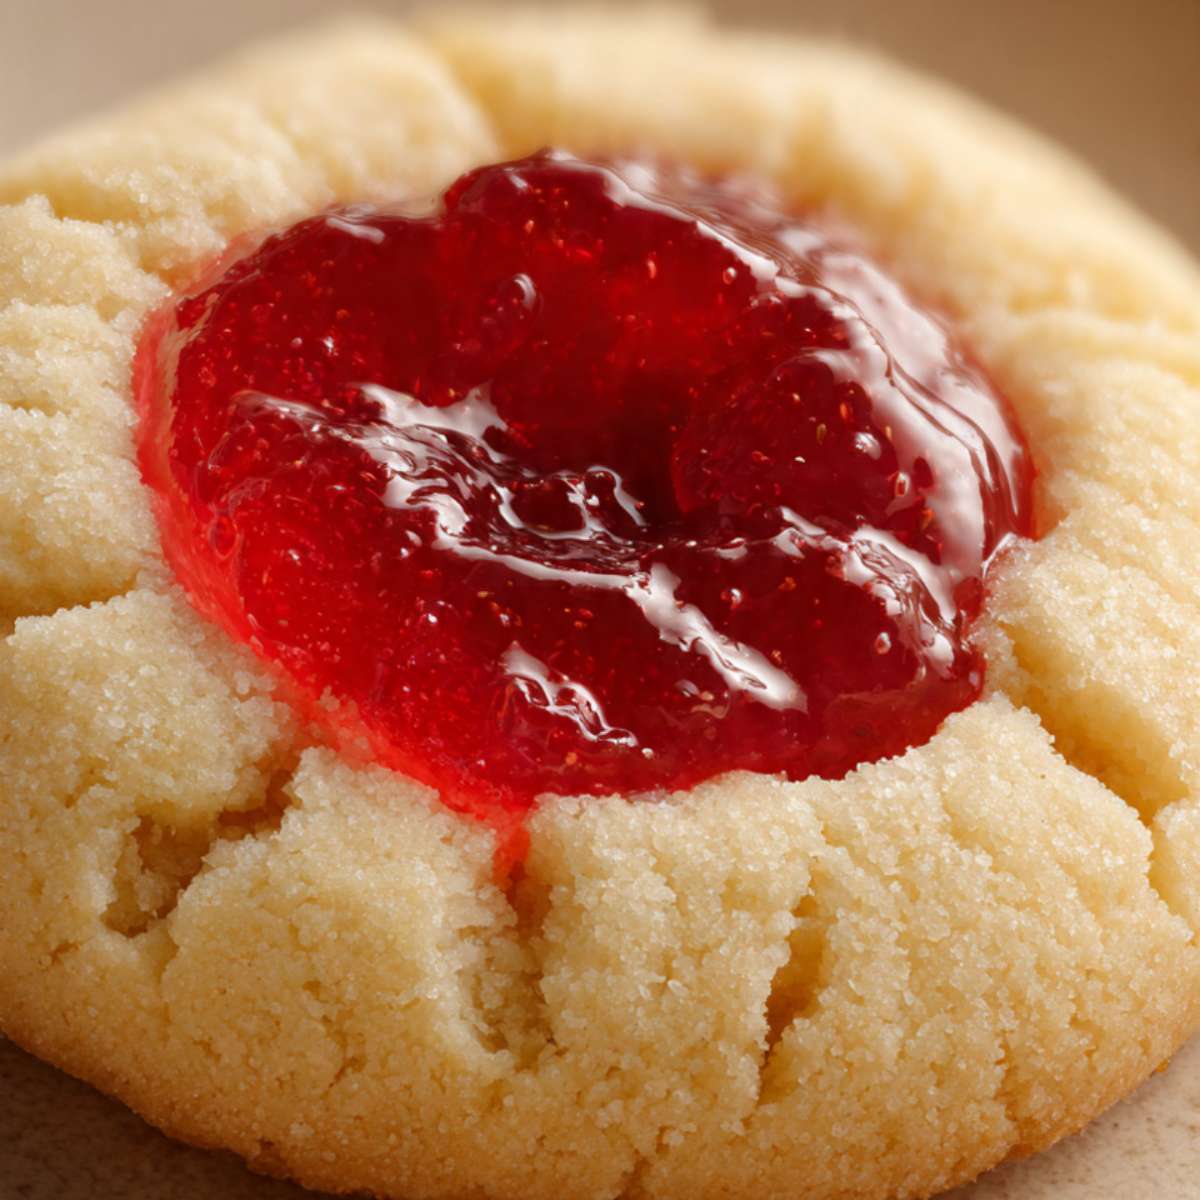
- Press your thumb or the rounded back of a ½ teaspoon measure firmly and straight down into the center of each dough ball to create a well approximately ½ inch (1.25cm) wide and ¼ inch (0.6cm) deep, pressing until the well is deep enough to hold jam without overflowing — fine cracks at the edges are normal and expected.
- Fill each well with approximately ½ teaspoon (3–4g) of thick fruit jam using a small spoon, filling just below the rim of the well without mounding above it, for a total of 3–4 tablespoons (60–80g) of jam across all 24 cookies.
- Bake on the middle rack at 350°F (175°C) for 10 to 12 minutes, starting to check at the 10-minute mark — pull the pan when the bottoms are lightly golden and the tops remain pale cream-colored and the centers still feel slightly soft when touched very lightly — do not wait for the tops to brown.
- Leave the cookies on the hot pan for exactly 5 minutes without moving them to allow carryover cooking to finish setting the centers, then transfer to a wire cooling rack and cool completely for at least 20 minutes before serving — if using the optional glaze, whisk 2 tablespoons (15g) sifted powdered sugar with 1 teaspoon (5ml) water until smooth and drizzle over fully cooled cookies only.
Notes
- Butter: must be softened to 65–68°F (18–20°C) — press your finger into it and it should leave a clean indent without feeling greasy. Butter that is too warm produces flat, spreading cookies.
- Flour: spoon into the measuring cup and level with a straight edge, or weigh at exactly 120g. Scooping packs in 20–30% more flour and produces dry, crumbly dough.
- Jam: use a thick smooth fruit jam — not jelly, not chunky preserves. Jelly is too loose and will overflow the well during baking.
- Vanilla: pure vanilla extract only — imitation vanilla has a sharp synthetic note that comes through clearly in a simple dough like this one.
- Salt: fine sea salt only — table salt measures differently by volume and can over-salt the dough.
- Sodium: ~25mg per cookie (from ¼ tsp fine sea salt across 24 cookies)
- Sugar coating: rolling dough balls in granulated sugar before pressing is optional but produces a sparkly, slightly crisp exterior. Apply before pressing, not after.
- Storage: store in a lidded hard-sided container with parchment between layers at room temperature for up to 3–4 days. Do not use zip-lock bags — they flatten the cookies and cause the jam to stick.
- Freeze baked: wrap each cookie individually in plastic wrap, store in a rigid freezer container for up to 2 months. Thaw at room temperature 30–45 minutes — do not microwave.
- Freeze unbaked: freeze portioned dough balls before pressing and filling. Rest 15 minutes at room temperature, then press, fill, and bake at 350°F (175°C) for 12–14 minutes.
- Make ahead: these cookies are better on day 2 — the jam softens the dough slightly overnight and the butter flavor deepens. Make them the day before serving for best results.
- Scaling: this recipe doubles cleanly — multiply all ingredients by 2. There is no leavening, so scaling is linear. Bake in two separate batches.
- Altitude: above 3,500 feet (1,067 meters), add 1 tablespoon (8g) extra flour and check cookies at 9 minutes.
- Allergens: contains gluten and dairy. Egg-free and nut-free as written.
- Tip: fill the jam before baking, not after — this keeps the well open during baking and produces the glossy, integrated jam center shown in the photos.
- High altitude bakers: see the FAQ section for full adjustment guidelines.